

Illuminating Brilliance: The Power of Lighting Enhancement
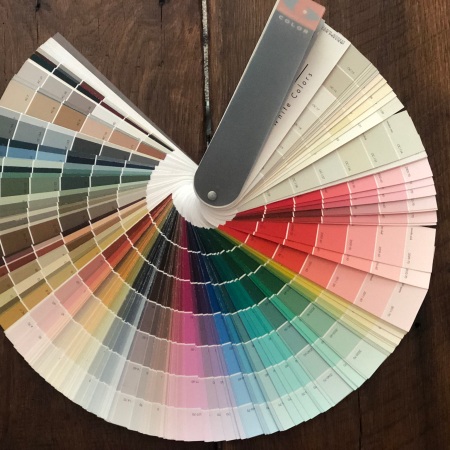
Unleashing the Power of Color Therapy: Illuminating Your Life with Vibrant Hues

Creating a Pet-Friendly Paradise: Home Improvement Ideas for Your Pets
DIY Projects That Bring Joy and Inspiration

Embrace the Great Outdoors: Transforming Your Space with Outdoor Living

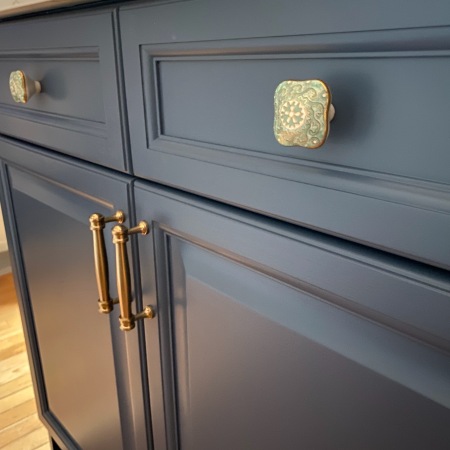
IKEA kitchen cabinets: pros and cons

Best laser level for construction

Hand Planes: The Essential carpentry Woodworking Tool

